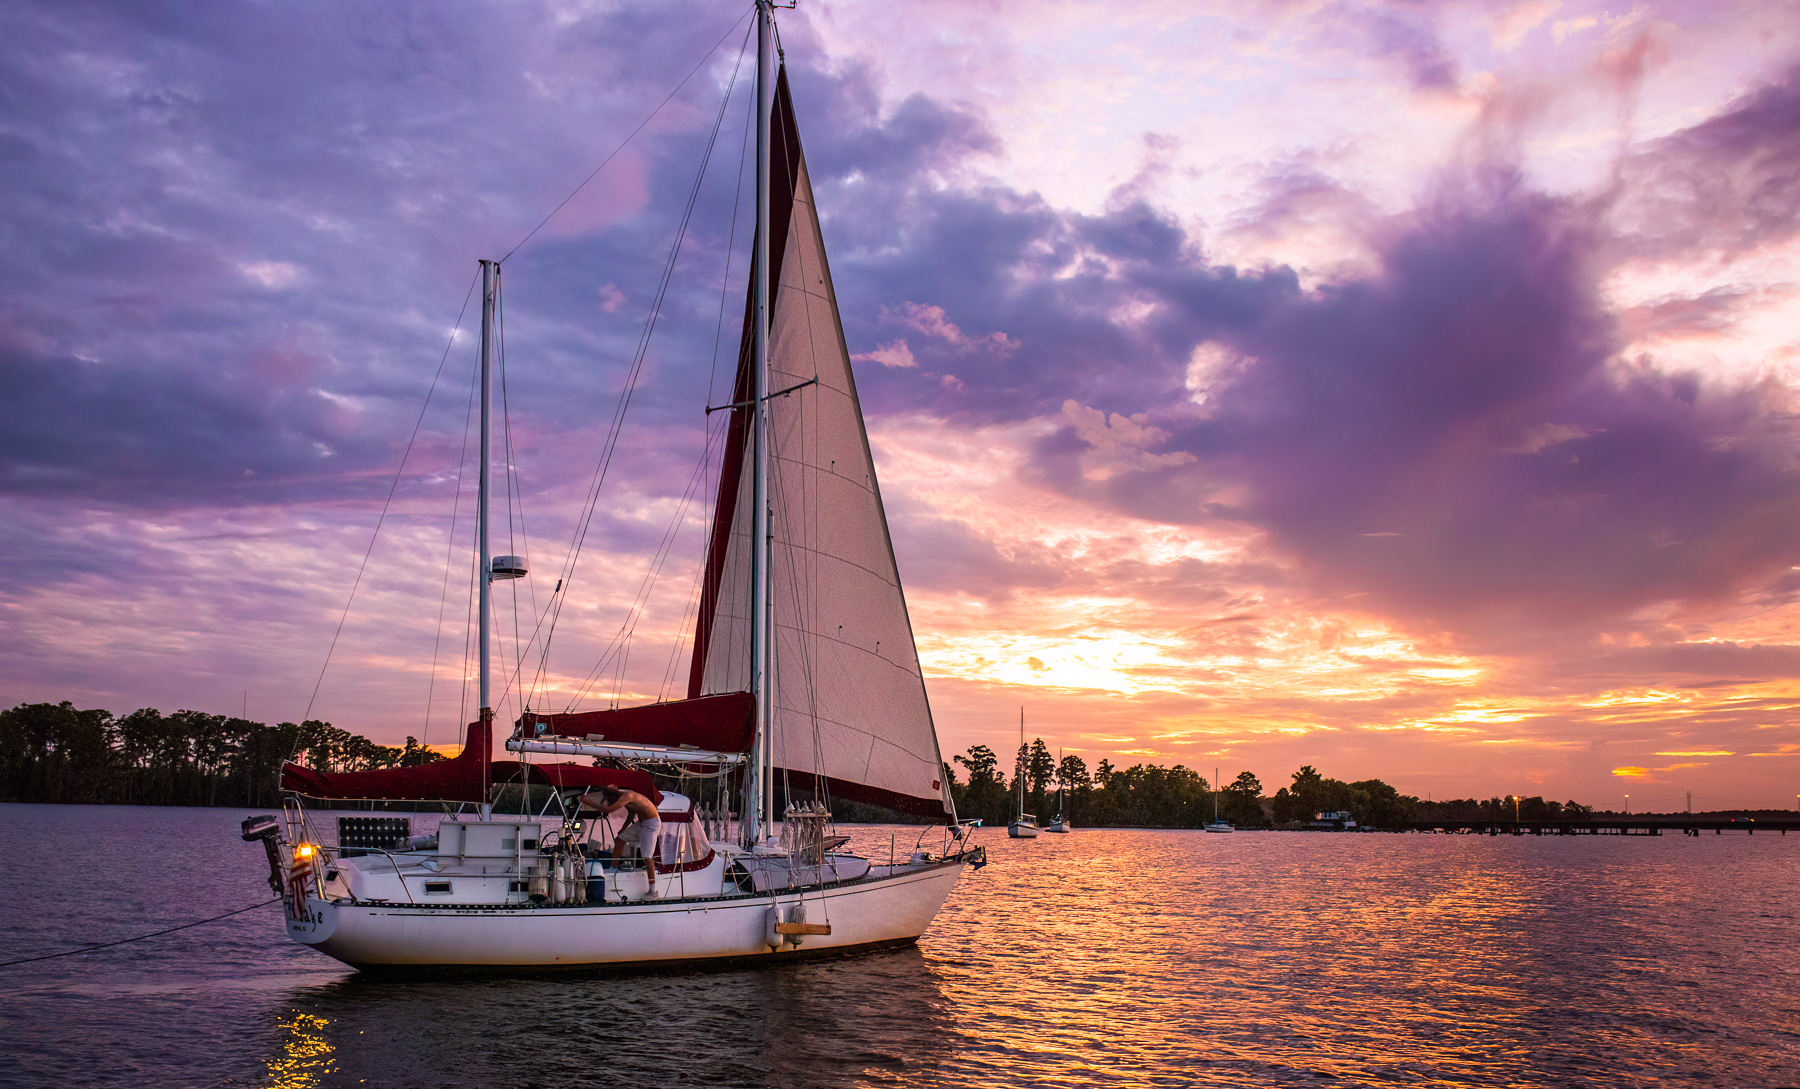
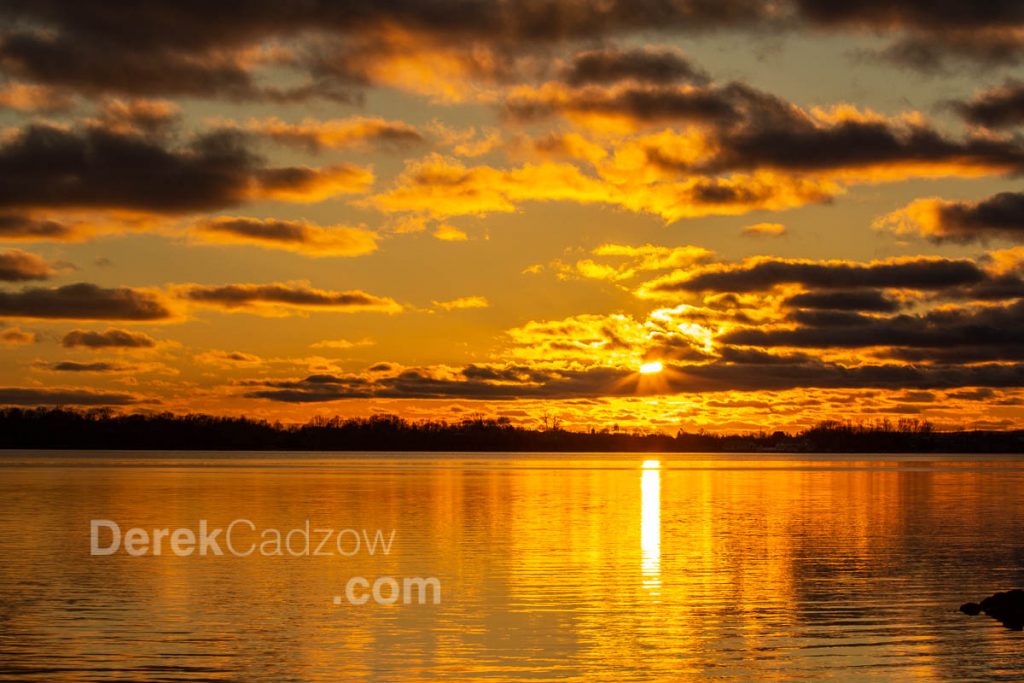
5 killer tips for amazing sunrise & sunset photos
Jackie’s bestie, Rhonda from Michigan, visited us recently in Washington to see our new home and spend some time with her “sister” (what they call each other.)
While she was here, she asked if we could cover some camera basics. After spending the afternoon photographing around Goose Creek State Park, we decided to try our hand at sunsets along the riverfront in town.
With just a few key tips, Rhonda was getting results good enough that she couldn’t wait to take them home and show them off.
Some of these tips will help if you’re using an everyday point-and-shoot camera (3, 4, 5, and bonus tip); others are meant for more sophisticated cameras (all of them). Here’s what we covered:


1) Manual, manual, manual
It’s all about the settings. If you depend on the automatic mode of your camera to decide the settings for you, especially in low-light situations, the results will be unpredictable — definitely not what you’re looking for when shooting a sunset.
Learn how to use your shutter speed, aperture, and ISO and you’ll be able to predict and shoot exactly what you want.
2) What ISO should I be using?
Increasing ISO (one setting on your camera) simply turns up the sensitivity of your camera sensor to the light that’s available. The higher the ISO number, the less light you need to get a good exposure.
But there’s a trade-off. The more you increase the ISO and turn up the sensitivity, the more “grain” you get on your photo and the less clear it will turn out to be. (Modern cameras are getting much better at higher ISO numbers, but the rule still holds true.) The lower your ISO number, the clearer your photo will be.
So generally, set your ISO to the lowest setting you can and use your shutter speed and aperture to get the right exposure. This will ensure your photo is as clear as possible and will allow you to make larger, clearer prints than you otherwise would.
By the way, this tip applies to more than just shooting sunsets. You should apply this technique to ANY photograph you’re taking.
For more reading on ISO
3) It’s a long shutter speed; keep your camera steady
When it’s getting darker, you’ll be extending the shutter speed to capture enough light for the photograph. Even a point-and-shoot camera will do that for you automatically. But with a longer shutter speed, it’s difficult to hold your camera steady enough to keep the image sharp.
So get your camera on a tripod (a camera stand with three extendable legs). Some cameras can also use a trip cord (an extended cord or remote that allows you to take the picture without touching and shaking the the camera when you push the button.
Don’t have a tripod with you? Find something solid and hold the camera up solidly against it. It’ll help steady the camera. (It helps to hold your breath when you take the photograph too — yep, really.)
For more reading on shutter speed
For those of you who are professionals or advanced amateurs trying to get the basics of manual mode, here’s a great video from Sean Tucker:
4) Composition
When shooting a sunset, don’t automatically put the horizon in the middle of the photograph. Look at the scene — where is the color and the detail you want to include in your photo? Is it the amazing color in the sky or in the clouds? Or is it the color reflected in water nearer the bottom of your picture. Determine what exactly your subject is, where the detail is, and place the horizon higher or lower in your picture to create a more imaginative, interesting photo.
That’s a composition technique called the rule of thirds. Now you can pull out that phrase at a party and impress your photographer friends… 🙂
For more on the rule of thirds.
5) Post processing… bring out the colors and emphasize detail
Post processing sounds scary to new photographers, but it’s easier than it looks and today’s modern programs are making it easier all the time. The images coming straight out of your camera don’t always reflect the color and contrast that your eye sees and can often make the photograph disappointing.
Use an editing program’s controls to select the sky or the reflected colors in water and boost the color and contrast a bit. That will help make the image more dramatic and your friends will stop in their tracks when they look at your new image!
Examples of such programs are Adobe Lightroom or Picassa or Photos (on Mac).
Bonus Tip! The golden hour
Light isn’t the same throughout the day. You’ll have noticed that when sunset comes, the light on objects and on people changes to the warm side of the spectrum and will cast a golden hue on your subject. Waiting for that golden hour can add tremendously to the appeal of your photo.
That time comes early in a sunset. You can use that golden light to photograph subjects and take advantage of that warm hue to give the photograph rich tones. Most wedding or engagement photographers will wait till this time of the day to photograph their couples’ portraits exactly for that reason.
When your subject IS the sunset, the golden tones will predominate and you’ll not need to extend your shutter speeds so much for a great picture.
So wait for the right time of day, but be ready — because good light changes fast and when you see the quality of light you want you’d better move quickly. If you wait or doddle for more than a few minutes, that perfect scene you just saw will be gone.
As my Dad used to say to me… Plan Ahead…
So get out there and start shooting before and after sunset. Practice the above tips and see some immediate and dramatic improvements in your photos. Experiment with ideas of your own and please let us know your experience with these basic tips in the comments below!
Happy shooting!